
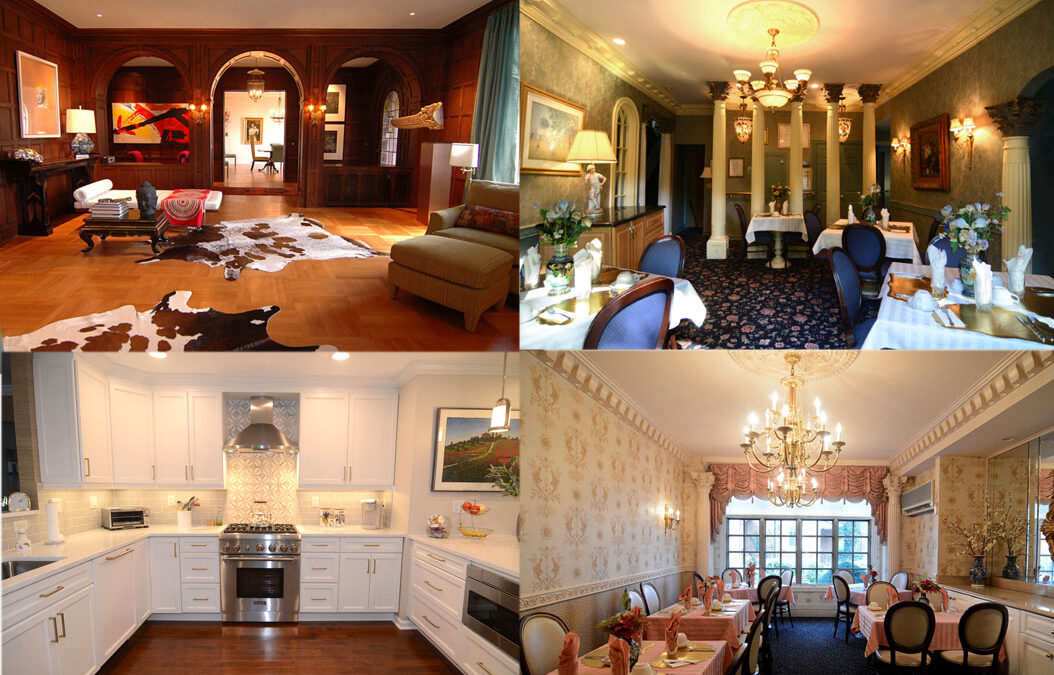
3 Reasons Why Professional Photography Matters to Your Clients & Customers
If you’re a building contractor, architect or interior designer, using a professional interior photographer is a smart investment. Your work is incredible, your meticulous with all details of design, construction, colors, textures, lighting, moldings, floor coverings, furniture selection. Now it’s time to document all your hard work. While cell phone cameras can be very good they are no match for the clarity, color and lighting a pro SLR camera can capture and trained photographers’ eye.
- Choose an interior photographer who uses wide angle lens g compares to shooting with a wide-angle lens with interiors as a 12-24mm wide angle lens will make any room look larger than a regular lens or cell phone camera. Ted DeCagna often shoots with a wide-angle lens to capture the largest area possible, especially in tight fitting situations. Shooting vertical columns or a building with a wide-angle lens up close can create some distortion but that distortion can easily be adjusted in post-production using the “skew tool” in Photoshop. Capturing the maximum possible space makes it worth the time to easily adjust a few pieces of furniture or columns to be perfectly straight using the skew tool if needed.
- Attract the right client. Effective interior photography should “showcase your best projects and your aesthetic.” As you build your business and refine your personal brand, these images will help “market to the clientele you really want.” Make sure your interior photographer captures all the colors, textures and special lighting in the rooms you have designed or built. Ted usually shoots with available sun light, or day light or interior high-hat lighting for interiors as strobe lighting can make room color look too washed out or too yellow. In low light settings Ted is able to open up the aperture to make a room look brighter than it really is. Available room light most often looks the best. In very dark settings a diffused strobe light is sometimes used in a soft capacity.
- Maximize your marketing. “ Interior Photography is your main marketing expense, as social media is free,” Ted explains. Investing in great photos is one of the most powerful ways to attract new client
How to Prepare for an Interior Photo shoot. Get the most from a pro shoot by following these tips from a pro Interior photographer
- Review the space with your photographer. Before the photo shoot, Ted takes a “walking tour” with each client, getting a detailed description of the rooms he will be shooting. This helps him estimate a timeline and plan for any props and styling needs.
- Use props. “You can never have too many props,” Ted says. The more options there are, the more prepared you will feel on shoot day, the better your final photos will look. If possible, clients or staging designer should style the interior the day before so that the photographer can maximize his time. Beautiful vases, silk flowers, sculptures, beautiful green plants, colored pillows, all compliment the beauty of a room. And of course, first make sure every room is spotlessly clean.
- Staging Designer, If you have the budget hire a professional staging designer to declutter and purchase some striking props to enhance your interiors. It’s all about curb appeal. So, the more effort you put into making your home or commercial space look great when selling, the higher sale price you will be able to get.
- DECLUTTER, you’ve headed the famous expression, “Less is More”. Cluttered rooms with too much furniture and over packed wall units can be a real turn off, where simple, clean, uncluttered rooms always look more appealing. So, force yourself to remove a few pieces of furniture or the cascade of family photos many people. Your Interior photos will look better.
What to Expect: Editing and Post Production
Even after a strenuous photoshoot has wrapped, an interior photographer’s job is never done. The next step is editing and post production–– Ted optimizes each image for public consumption. Ted explains, “The way the camera sees things is totally different than what our eyes actually see.” Ted spends hours adjusting the exposure, shadows, and color saturation, sometimes combining image files to piece together the perfect shot.
Ted sometimes spends hours on one photo retouching out undesirable elements. This painstaking process often goes unnoticed, but is incredibly important to the quality of the final images.
Recent Comments